

Factory machinery is used to create interlocking pavers. They are made up of cement compounds and aggregate with both fine and coarse grains.
The components go through vibration and pressure courses to create a robust, long-lasting concrete that can be shaped into a variety of patterns.
Color is applied during the vibration and pressure courses to create a more enticing design element.
This is a speedy production technique because the pavers are available for paving right away and don’t require a long curing period.
cement or concrete
Adding masonry coloring to the ready mix.
Using vibration and pressure of machine.
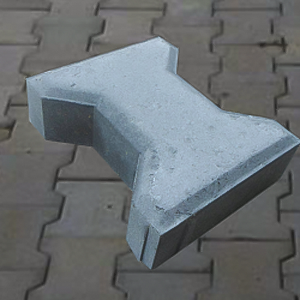
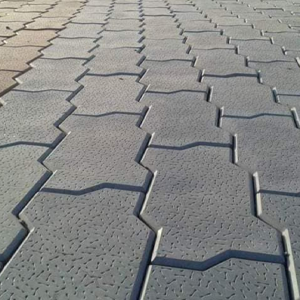
Concrete blocks are mass manufactured to standard sizes. Hence, they can be easily interchanged. A typical concrete block has two surfaces – one is smooth, and the other is a rough surface. The concrete paving blocks are most suitable for heavy-duty applications, able to support substantial loads and resist shearing and braking forces. The concrete blocks come in various colors. The colors typically come from metallic oxides. However, there is a possibility of these colors to fade away. Hence one needs to be very careful while choosing the color of the block. Concrete paving blocks are the most preferred choice for laying of pavements, driveways, etc.
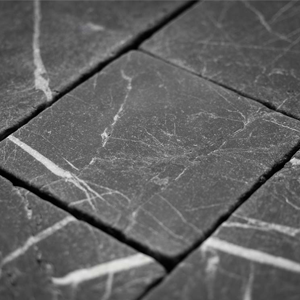
Clay paving blocks are also called bricks or cobbles. These blocks are generally available as typical, rectangular brick-shaped. Although custom shapes can be made for specific projects. Unlike the concrete paving blocks, either side of clay paving blocks can be used. So both sides are interchangeable. Clay blocks are available in natural color only; hence the possibility of color fading is not there in these blocks. These blocks are mostly used for walls or pillars.
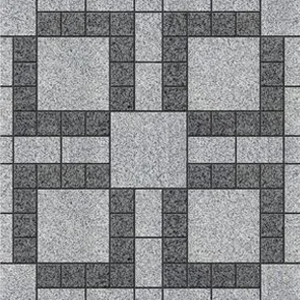
Shapes and Classification of Paver Blocks
There are four generic shapes of paver blocks corresponding to the four types of blocks:
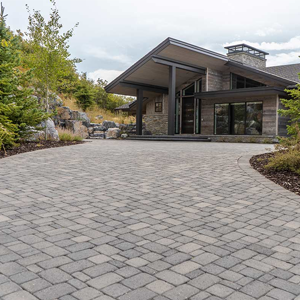
With all these advantages, paver blocks are the most sort after solution for exterior pavement or driveways. These paver blocks not only make the exterior pathways look clean and neat but are also safe for walking on. Paver blocks are a definite solution for a low maintenance pathway.
A bed of sand is necessary to provide final leveling properties and help secure the pavers in place. Use clean, sharp concrete sand 1-inch deep. Allow for 1 cubic yard of sand per 300 square feet of project area.
Install a stable edge restraint to eliminate any lateral movement of the pavers and sand bedding. Examples of edge restraints include an existing hard edge (such as the side of a house), vinyl molded restraints or concrete restraints.
Place pavers flat on the sand bed, working in a forward motion. Start the process at either a 90-degree corner or within the field by using a pre-set string to guide the straightness of the pavers.
Once the paver field and borders have been placed, spread a light layer of sand over the pavers and run a vibrating plate compactor over them to begin the interlocking process.
Spread dry paver joint or masonry sand over the surface of the paver area approximately ¼ inch deep. Using the vibrating plate compactor, pass over the sanded pavers two or three times to allow sand to fill the voids between the pavers. Sweep remaining sand into voids until they are completely filled.
No products in the cart.